How To Install Damp-Proof Membrane On Concrete Floor
22/09/2023
Are you planning to transform your concrete floor into a cosy, warm, and dry space? Installing a damp-proof membrane (DPM) is a crucial step in creating a comfortable and long-lasting flooring solution. Whether you're preparing your space for laminate, hardwood, or any other type of flooring, this step-by-step guide will walk you through the process of installing a damp-proof membrane on your concrete floor.
Step 1: Gather Your Tools and Materials
Before you begin, ensure you have the following tools and flooring materials ready:
- Damp-proof membrane (DPM)
- DPM adhesive or tape
- Trowel, scraper, or roller (Flooring tools & accessories)
Step 2: Prepare the Concrete Surface
Start by thoroughly cleaning the concrete surface to remove any dust, dirt, or debris. A clean surface ensures better adhesion of the DPM. If your concrete floor has any cracks or imperfections, consider filling them with repair mortar and allowing it to dry before proceeding.
All substrates must be prepared to leave a sound, clean, and surface-dry subfloor. Oils, grease and other contaminants that may hinder adhesion must be removed. This includes release agents used in concrete curing processes as well as laitance, contamination, and any weak surface materials.
Step 3: DPM Application
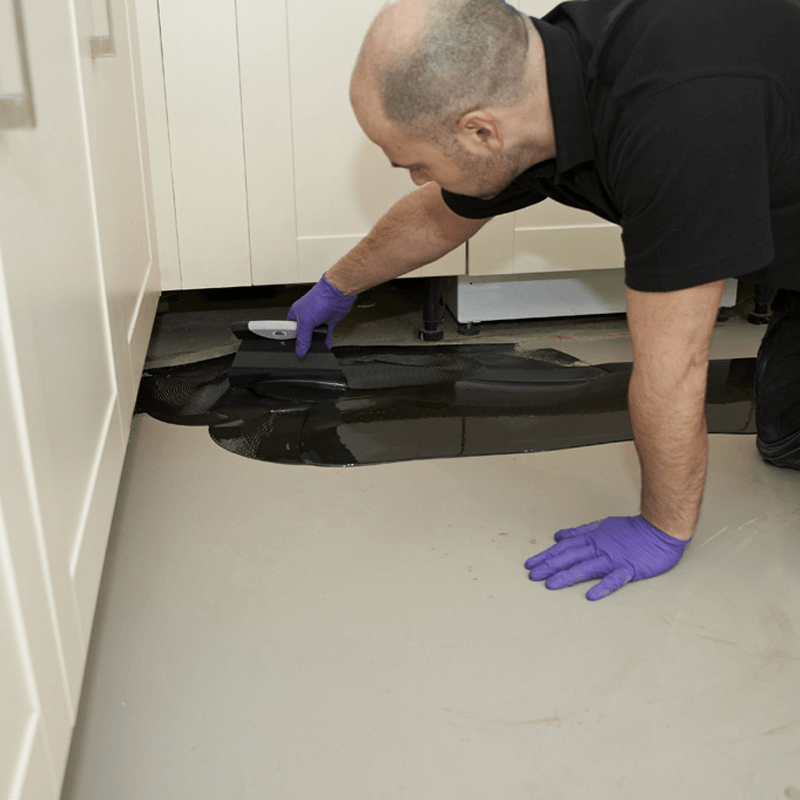
Generally speaking, when using a liquid DPM you apply your substrate by pouring it onto the floor area to be treated, and then trowel, paint, or roller it in. You should always begin at the far point of the floor to ensure you do not need to walk over it after application.
You’ll want to make sure that you over-roll the serrations using a short pile roller pre-wetted in DPM to ensure a uniform coating is achieved. This should be done immediately following trowelling. It is recommended that the DPM is carried up the perimeter walls to the level of the damp proof course (DPC) provided that the substrate is stable to moisture. This can be done by brush or small roller to give an overall coating. Priming or broadcasting with sand will be required before further flooring materials are applied.
Cure time will be subject to ambient conditions. Colder temperatures will delay the curing. Keep the floor completely clear of other trades and foot traffic until cured. The product should cure to give a glossy film. Finally, inspect to ensure a pinhole-free film has been attained.
Important Note: The process of installing a DPM will have similarities across all brands available at Flooring Materials, however, we advise that you follow the data sheet and follow application instructions for your chosen product.
Browse available Damp Proof Membranes (DPM).
Step 4: Install Your Desired Flooring
With the DPM applied, and the correct setting timings followed, you can now proceed to install your chosen flooring material, whether it's laminate, hardwood, LVT, carpet, or any other type. Follow the manufacturer's instructions for the specific flooring installation, but if you need any floor adhesive, we’ve got you covered with an array of adhesives, including wood floor adhesive, carpet adhesive, vinyl floor adhesive, and laminate floor adhesive.
By following these steps, you'll have successfully installed a damp-proof membrane on your concrete floor, providing a moisture-resistant barrier that helps protect your flooring and maintain a comfortable living space.
Make an order or contact us for support with all your flooring material needs, today!

